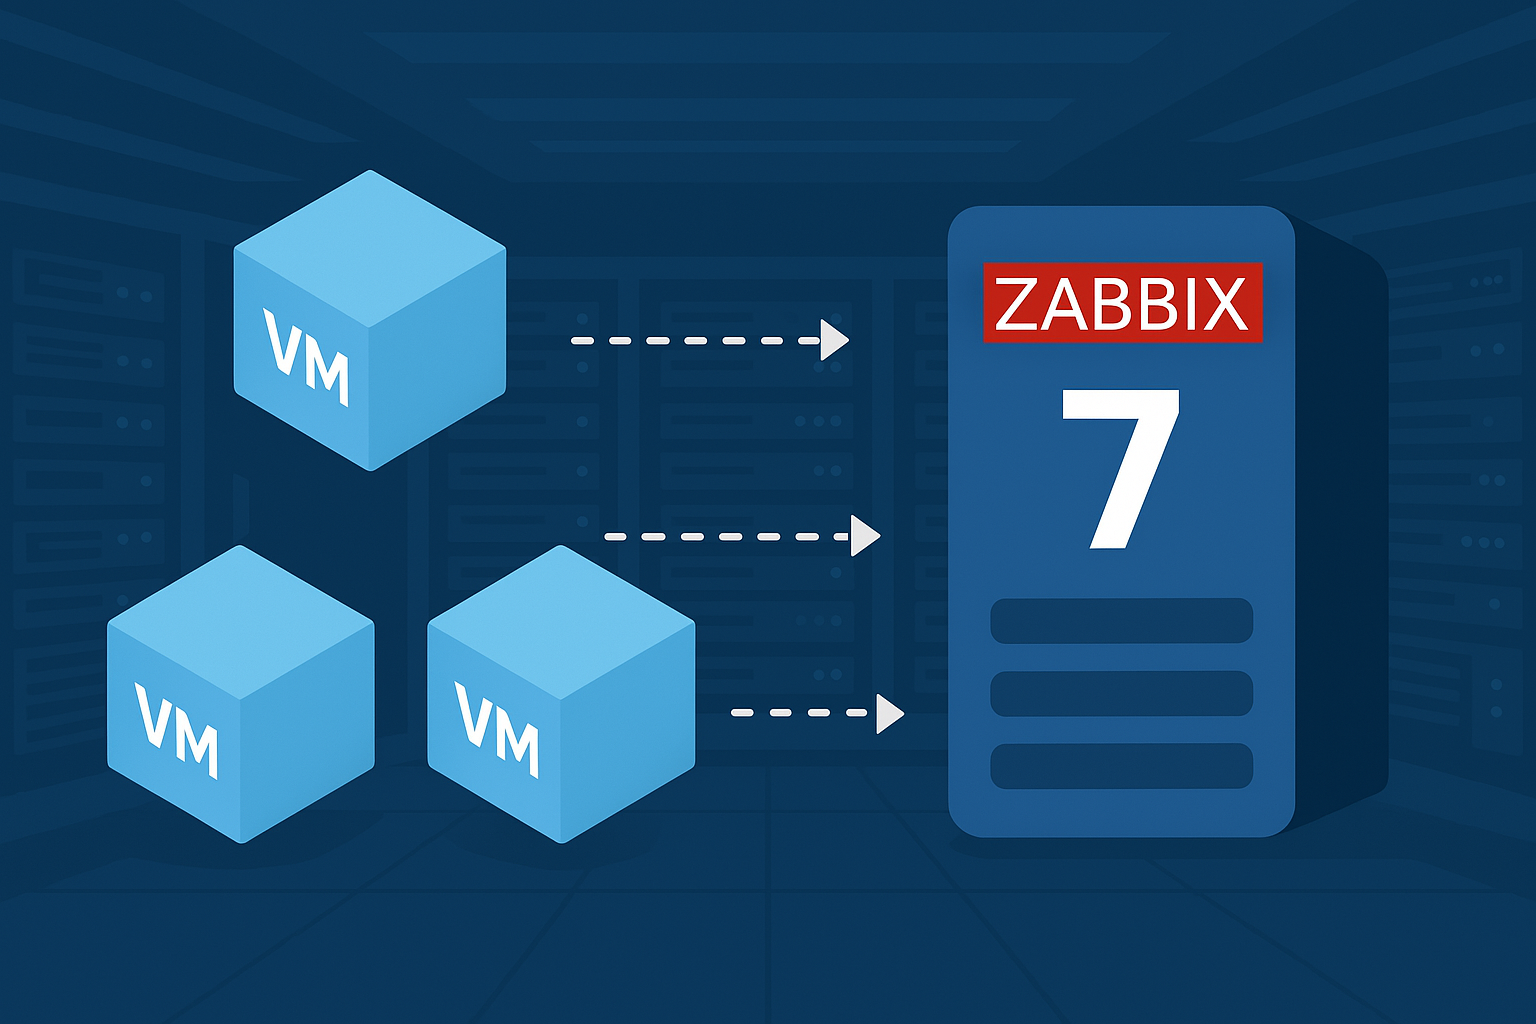
Autoregister VMs in Zabbix 7: A Complete Step-by-Step Guide
If you’re looking to autoregister VMs in Zabbix 7, this guide will walk you through each step needed to enable and verify host registration. By the end, you’ll have a fully automated process for adding new virtual machines to your Zabbix monitoring setup.
Prerequisite: Zabbix 7 Installation
To take advantage of the autoregistration feature, you must first have a running Zabbix Server 7. If you don’t already have it, follow this Zabbix Server 7 installation guide using Docker to set it up quickly and efficiently.
Step 1: Verify Autoregistration Settings on Zabbix Server
- Log in to your Zabbix Server’s web interface.
- Go to Alerts → Actions → Autoregistration.
- Make sure the autoregistration feature is enabled.
- If no autoregistration rule exists, click Create autoregistration rule.
- Give it a descriptive name (e.g., “VM Autoregistration”).
- Define actions to assign templates, host groups, and other preferences.

Important: The autoregistration rule instructs Zabbix Server on how to handle new machines that “present” themselves to the system.
Step 2: Prepare the Virtual Machine with Zabbix Agent 7
- Create or choose the VM where you’ll install Zabbix Agent 7.
- Ensure the VM has network access to your Zabbix Server.
- Install the Zabbix Agent 7 from official packages or repositories. On most Linux-based systems, use:
wget https://repo.zabbix.com/zabbix/7.0/ubuntu/pool/main/z/zabbix-release/zabbix-release_latest_7.0+ubuntu24.04_all.deb
dpkg -i zabbix-release_latest_7.0+ubuntu24.04_all.deb
apt update
apt install zabbix-agent
For RPM-based distributions:
rpm -Uvh https://repo.zabbix.com/zabbix/7.0/rocky/9/x86_64/zabbix-release-latest-7.0.el9.noarch.rpm
dnf install zabbix-agent
Step 3: Configure the Agent for Autoregistration
Once the agent is installed, configure it to communicate with the server and autoregister:
- Edit the configuration file: Usually located at
/etc/zabbix/zabbix_agentd.conf. - Find and adjust the following key parameters:
Server=: The IP or hostname of your Zabbix Server.ServerActive=: The server address for active checks, e.g.:
Server=ZABBIX_SERVER_IP
ServerActive=ZABBIX_SERVER_IPHostname=: Assign a unique host name for your VM (e.g.,vm-test-01).HostMetadata=: Specify metadata to match the correct autoregistration rule in Zabbix (e.g., “linux” for this case).
- Save the changes and restart the agent service:
systemctl restart zabbix-agentStep 4: Verify Autoregistration
- In the Zabbix UI, go to Monitoring → Hosts.
- Confirm that the VM appears with the hostname you set in the
zabbix_agentd.conf. - Make sure its status is Enabled and check the metrics assigned to the template you specified.
Troubleshooting
Firewall Restrictions
Ensure there is no firewall blocking communication between the Zabbix Server and the client machine. If a firewall is enabled and not properly configured to allow the required ports (default: 10050 for agent, 10051 for server), the VM will not be able to register.
Check Agent Logs
If autoregistration fails or the agent does not appear in Zabbix Server, consult the /var/log/zabbix/zabbix_agent.log file on the client machine. This log may provide error messages or additional information that can help you identify configuration issues.
Conclusion
Zabbix 7’s autoregistration feature provides a significant advantage by automating the onboarding of new hosts, reducing manual workload and potential configuration errors. With the right setup, your virtual machines will automatically integrate into Zabbix, letting you focus on resolving incidents and optimizing your infrastructure instead of dealing with manual host additions.

